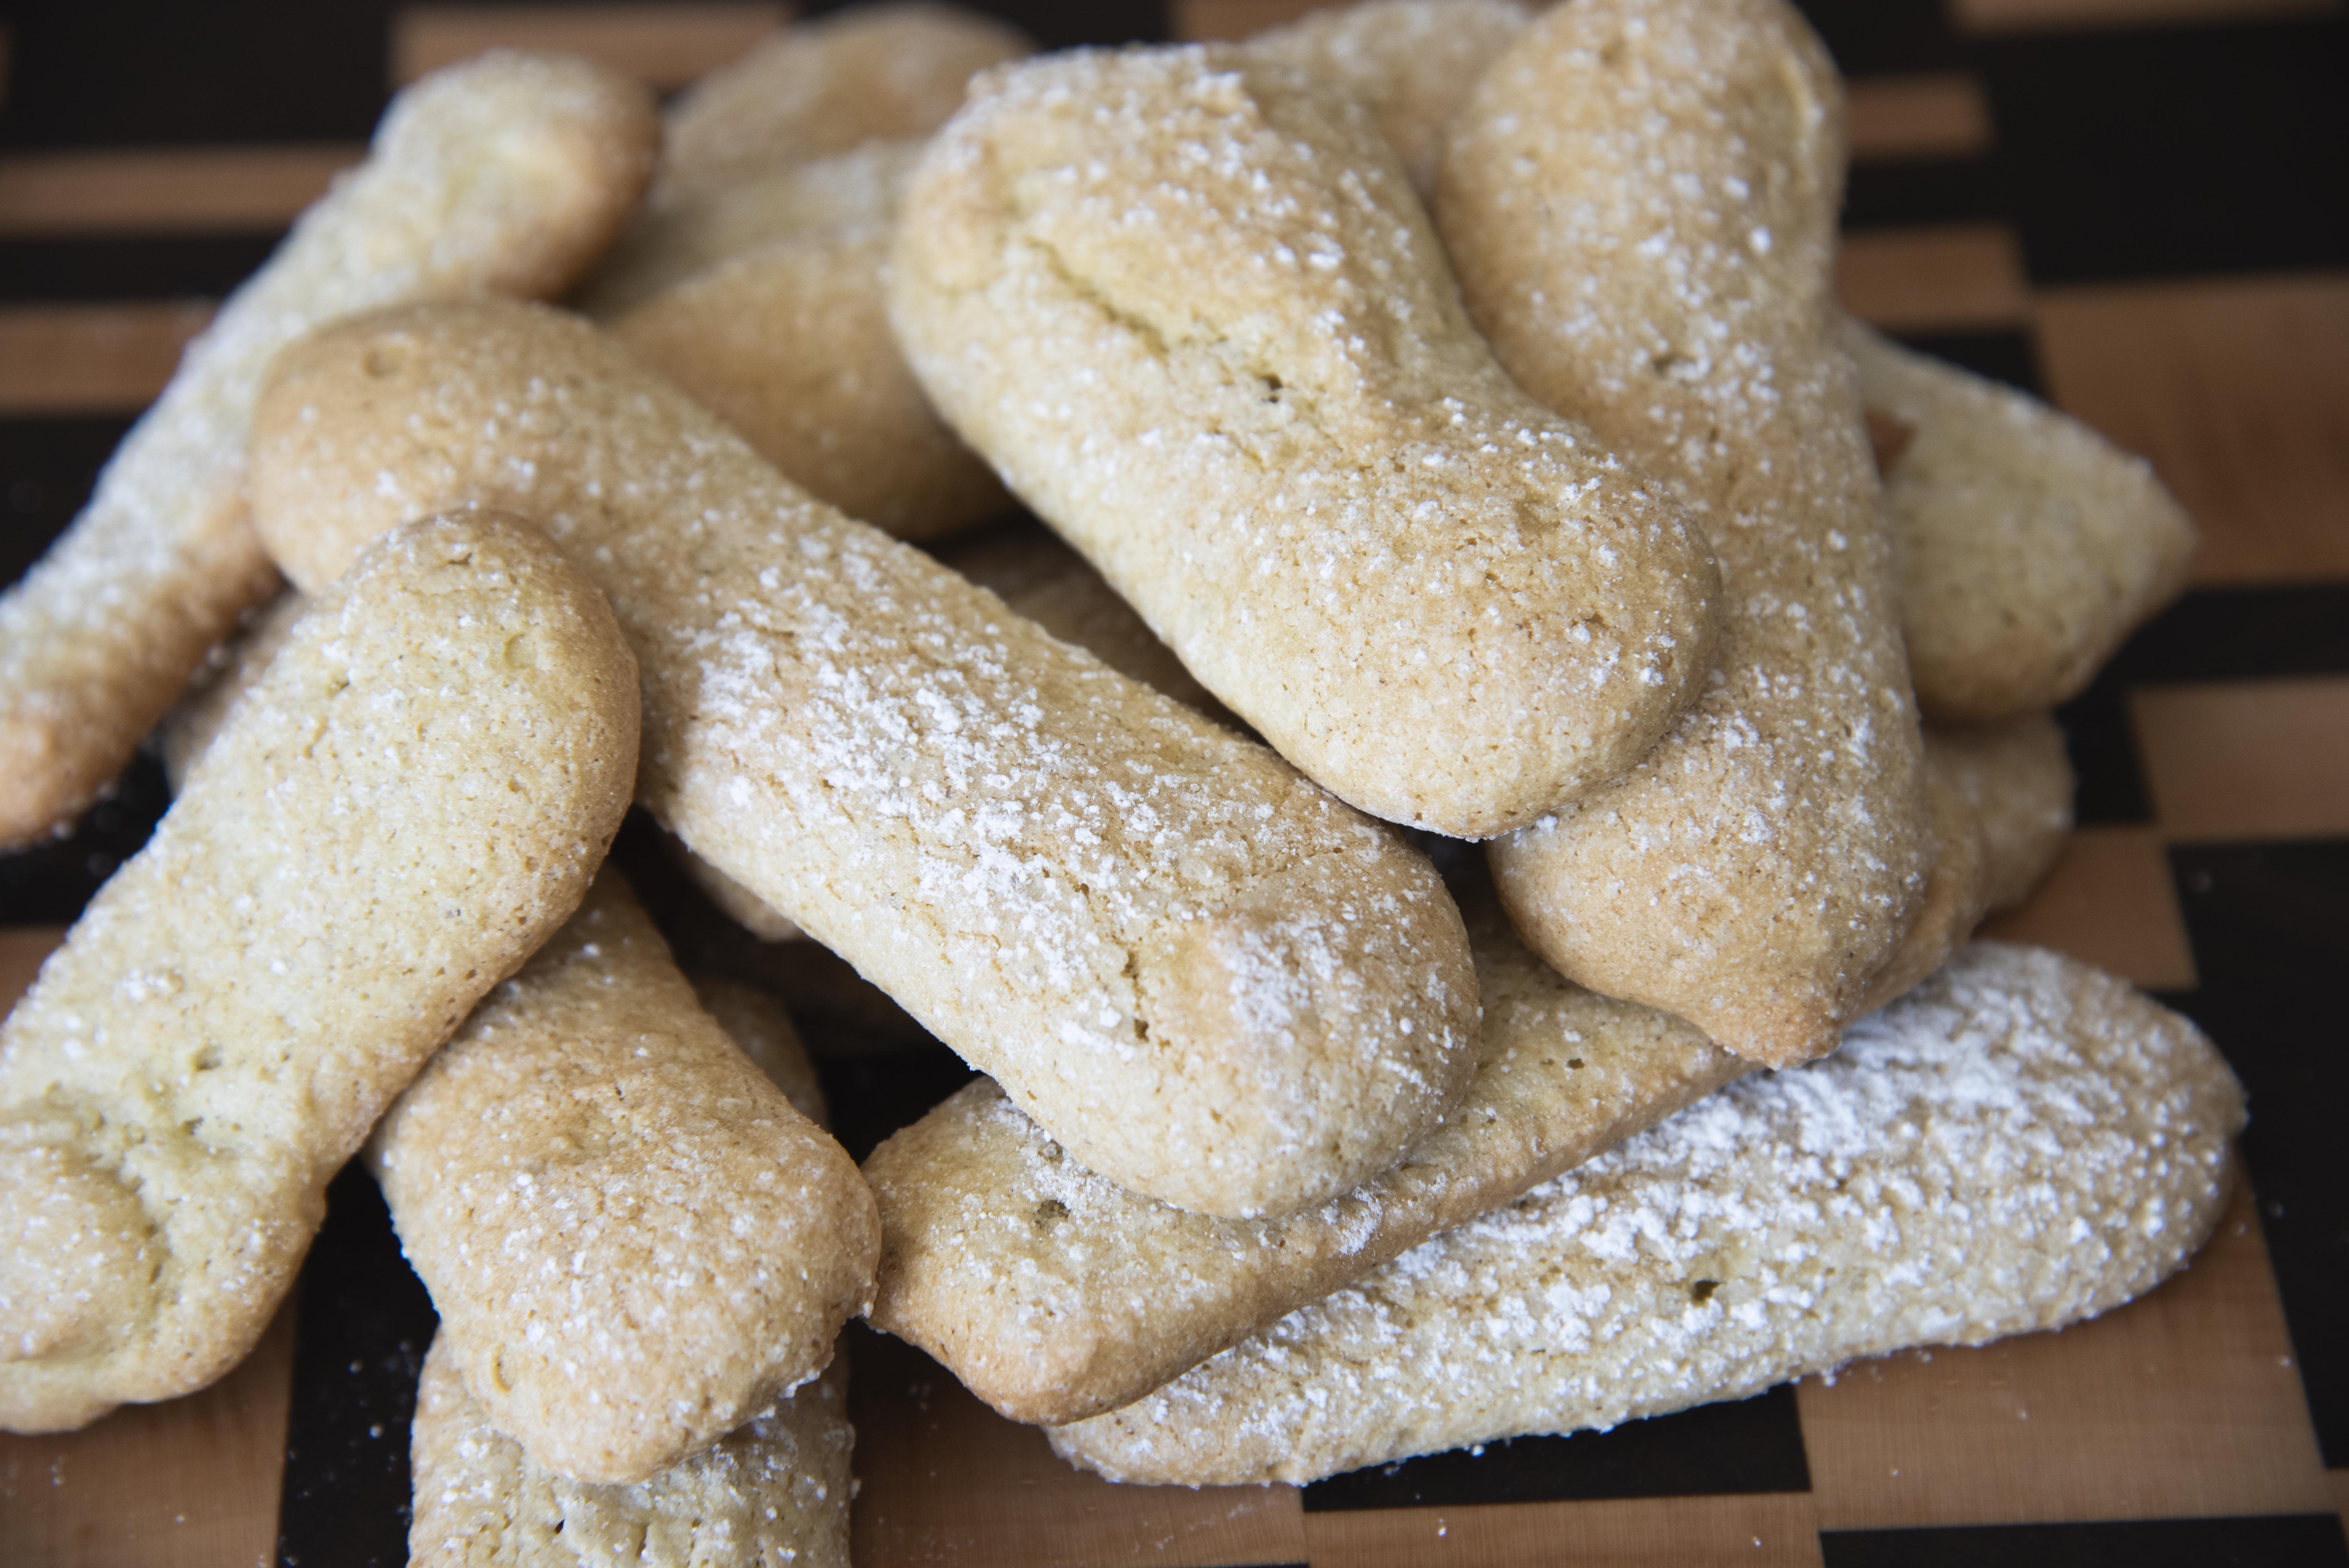
Gluten Free Lady Fingers
These homemade gluten-free ladyfingers are light, airy, and perfect for desserts like tiramisu, trifles, or even enjoying on their own. They bake up with a delicate crisp exterior and a soft, sponge-like center—just like the classic version.
I love making these because they remind me that “from scratch” doesn’t have to mean complicated. It’s a peaceful recipe to make in the kitchen, and it turns into something truly special—especially when it’s layered into tiramisu and shared with people I love. Knowing they’re gluten-free just makes them even better.
Ingredients
- 8 large eggs, separated
- 1⅓ cups granulated sugar, divided
- 1 teaspoon vanilla extract
- 2 cups King Arthur Gluten-Free 1:1 Flour
- 1 teaspoon baking powder
- 4 tablespoons cornstarch
- Powdered sugar, for dusting
Instructions
- Prepare the oven and pans
Preheat the oven to 350°F (180°C) and place a rack in the center. Line two baking sheets with parchment paper.
Fit a large piping bag with a ½-inch round tip and set aside. - Whip the egg whites
Add the egg whites to a large mixing bowl or stand mixer fitted with the whisk attachment. Beat on high speed until soft peaks form.
Slowly add 4 tablespoons of the granulated sugar, continuing to beat until the whites are stiff and glossy. - Mix the yolks
In a separate bowl, beat the egg yolks, vanilla extract, and remaining sugar on medium-high speed until thick, pale, and creamy—about 2 minutes. - Fold the batter
Gently fold half of the whipped egg whites into the yolk mixture to lighten it.
Sift in the gluten-free flour, cornstarch, and baking powder, folding just until combined.
Carefully fold in the remaining egg whites, stopping as soon as the batter is smooth and airy. - Pipe the ladyfingers
Transfer the batter to the prepared piping bag. Pipe 3-inch strips, about 1 inch wide, spacing them roughly 2 inches apart on the baking sheets. - Dust and bake
Lightly dust the tops with powdered sugar.
Bake for 12–15 minutes, or until the ladyfingers are lightly golden and spring back when touched. - Cool
Allow the ladyfingers to cool completely on the baking sheets before transferring them to a wire rack.
Notes
- Yield: This recipe makes roughly 3 dozen ladyfingers, which is the perfect amount for layering into a classic tiramisu.
- Powdered Sugar: Don’t skip this step—it helps the ladyfingers hold their shape and creates the classic texture.
- Storage: Store in an airtight container at room temperature for up to two weeks, though they’re best enjoyed fresh.
- Freezing: Once fully cooled, freeze in layers separated by parchment paper in an airtight container for up to one month.