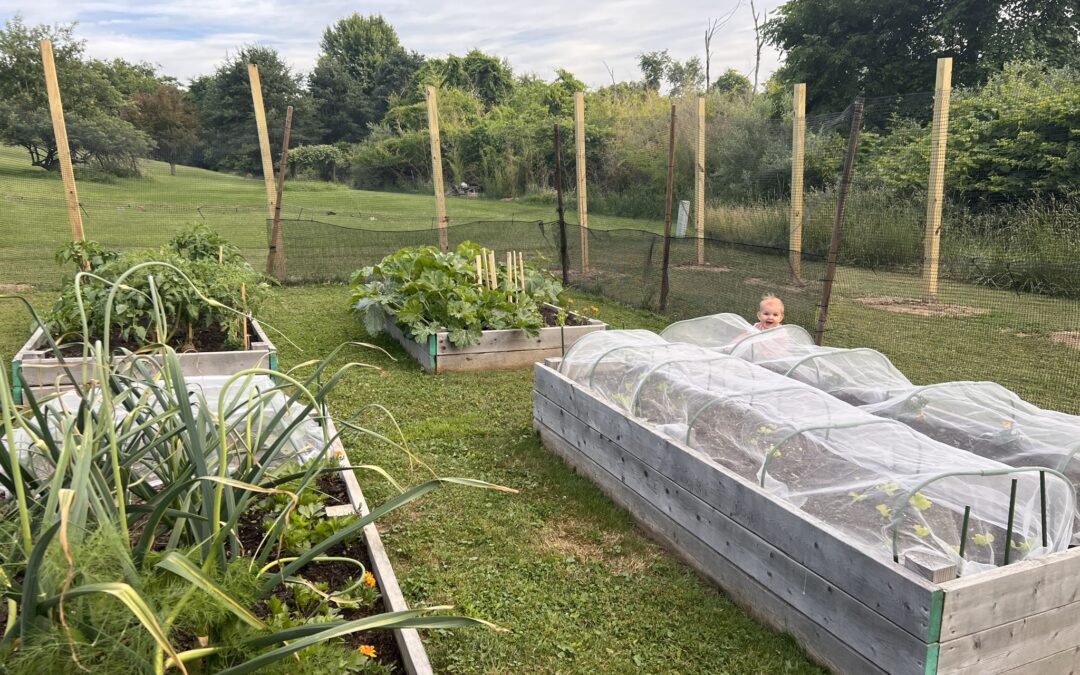
How to Build Raised Garden Beds
We chose to build raised garden beds because our native soil is poor and not ideal for growing healthy plants. Instead of struggling with compacted, nutrient-deficient ground, raised beds allow us to create rich, well-draining soil that supports thriving vegetables and flowers. Beyond the practical benefits, raised beds also enhance the beauty of our garden, giving it a clean, organized look that blends seamlessly into our outdoor space. The structured design makes maintenance easier while adding a touch of charm to our yard, making gardening both functional and visually appealing.
Option 1: Standard Assembly (Using Screws & Drill)
Materials Needed:
- (6) 2x6x8 untreated boards
- (1) 4x4x6 post (cut into four 12-inch pieces)
- Decking screws
- 32 cubic feet of soil per bed
Tools Needed:
- Circular saw (or ask the hardware store to cut your boards and posts)
- Drill
Step 1: Cut the Wood
If your boards and posts aren’t pre-cut, use a circular saw to make the following cuts:
- 2x6x8 boards: Cut two boards in half (resulting in four 4-foot pieces). These will be the short sides.
- 4x4x6 post: Cut into four 12-inch pieces. These will be the corner posts.
Now you should have:
✔ Four 8-foot boards (long sides)
✔ Four 4-foot boards (short sides)
✔ Four 12-inch 4×4 posts (corners)
Step 2: Assemble the Frame
Tip: Assemble your garden bed on a driveway, patio, or other flat surface to ensure stability and easy alignment before moving it to the garden.
- Position the first long board (8 feet) and a short board (4 feet) to form an L-shape.
- Place a 4×4 post at the inside corner for support.
- Drill pilot holes through the 2×6 boards into the post to prevent splitting.
- Secure with decking screws (use at least two screws per connection).
- Repeat on all four corners until you have a sturdy rectangular frame.
Step 3: Add the Second Layer
- Stack the second set of boards on top of the first row.
- Align them carefully, then drill pilot holes and secure them to the corner posts with screws.
- Repeat on all four sides.
Step 4: Place the Bed in Your Garden
- Move the finished garden bed to your desired location.
- If placing on grass, you can line the bottom with cardboard or landscape fabric to prevent weeds.
Option 2: Drill-Free Raised Bed (Using Concrete Planter Wall Blocks)
If you want a raised garden bed without screws or drilling, use concrete planter wall blocks to hold the boards in place.
Materials Needed:
- (6) 2x6x8 untreated boards
- 8 concrete planter wall blocks
- Mallet
- Circular saw (or ask the hardware store to cut your boards and posts)
Step 1: Prepare the Blocks & Boards
- Cut the wood (same measurements as the standard option).
- Place four planter wall blocks at each corner of where you want the bed.
- Place the remaining four blocks on the first four.
Step 2: Insert the Boards
- Slot the 8-foot boards into the grooves of the blocks on the long sides.
- Slot the 4-foot boards into the short sides.
- Tap with a mallet if needed to ensure a snug fit.
Step 3: Stack the Second Layer
- Place the second set of boards into the block grooves above the first layer.
- Make sure everything is level and aligned.
Step 4: Fill with Soil
- Each bed requires 32 cubic feet of soil (about 1.2 cubic yards).
- Layer compost, topsoil, and organic matter for healthy plants.
Your raised garden bed is now ready for planting! 🌱✨
